Google VR iOS Development with Unity
When it comes to VR development for the iPhone, you can do some really cool stuff, but you’re going to have to look beyond Apple for tools. It’s possible this could be changing next year if Robert Scoble’s prediction of an all glass, augmented-reality-glasses-ready iPhone come true. But for now, if you’re an iOS developer and you want to dive into the new exciting world of VR development, your best option is the Google VR SDK for Unity.
The good news is that the combination of Unity and the Google VR SDK for iOS gives you a pretty quick way to get up and running with a simple VR app for iPhone. It’s simple but not entirely straightforward how to put all the pieces together to create VR experience for iPhone. In this tutorial I’ll walk you through everything you need to get up and running.
Just a quick note: You might see mentions of the Google Cardboard SDK in other tutorials or documentation on the web. Google VR was previously named Google Cardboard, but was rebranded with the announcement of Google’s VR Platform, Daydream, at Google I/O 2016. Google Cardboard is still the name of the open spec used for creating VR headsets, but no longer the name of the VR SDK.
Hardware
Google Cardboard headsets are cheap and easy to find… almost too easy. Since Google Cardboard is an open standard design from Google there is no shortage of Google Cardboard headsets available on Amazon, unfortunately most are garbage. When looking for a good Google Cardboard headset you should keep a couple of things in mind. Since iPhone can’t take advantage of the fancy Google Daydream motion tracking controller, we need headsets that either allow you to touch the screen of the device to trigger an action, or include a magnetic button on the headset (that will touch the screen for you). The main way to take actions in Google Cardboard for iOS is by looking (or “Gaze”-ing at something) and touching the screen to trigger an action. You can also attach a bluetooth controller, but how many iPhone users regularly connect a bluetooth controller to their device? At this point I’m afraid iPhone bluetooth controller owners, who use Google Cardboard headsets, is a pretty small user segment (even smaller than those who own Google Cardboard headsets).
The other major headset feature you’ll want is a strap to hold the headset to your head. You’d be amazed how many VR headsets require you to actually hold the headset up to your face to use it. Holding up a headset to your face gets old fast, so make sure you get a headset that will comfortably strap to your head.
Here are a couple of headsets that include buttons and confortable straps:
These headsets might be a bit on the expensive side, but will be worth it if you plan to do any amount of VR mobile development. If you just want to dabble then just about any $15 - $25 headset will work ok, but probably won’t include an action button. so a bluetooth controller will be necessary anyway.
Software
I’ve developed a number of mobile games using the Apple SpriteKit framework. Looking back, I would never develop any game in anything other than the Unity engine ever again. The Unity IDE and Engine just gives you so much more tooling to create great games easier and more quickly than anything you could develop in Xcode. So, for this tutorial I’ll demonstrate how to get up and running with an iOS App in Unity.
The first thing to know is that iOS developers can not (at the time of this writing) make use of the Daydream VR platform. There is a build of Unity that includes a Daydream Technical Preview… DO NOT USE THE Technical Preview if you want your app to compile in Xcode. Simply download the latest version of Unity: Unity Free Download
Once you have the latest version of Unity downloaded and installed, you’ll want to download the Google VR SDK. The Google VR SDK contains the components (Or Prefabs) we’ll need to transform what would normally be a 3D game into a stereoscopic VR experience. For example the Main Unity Camera functions the way traditional game cameras function:
Main Camera (Unity)
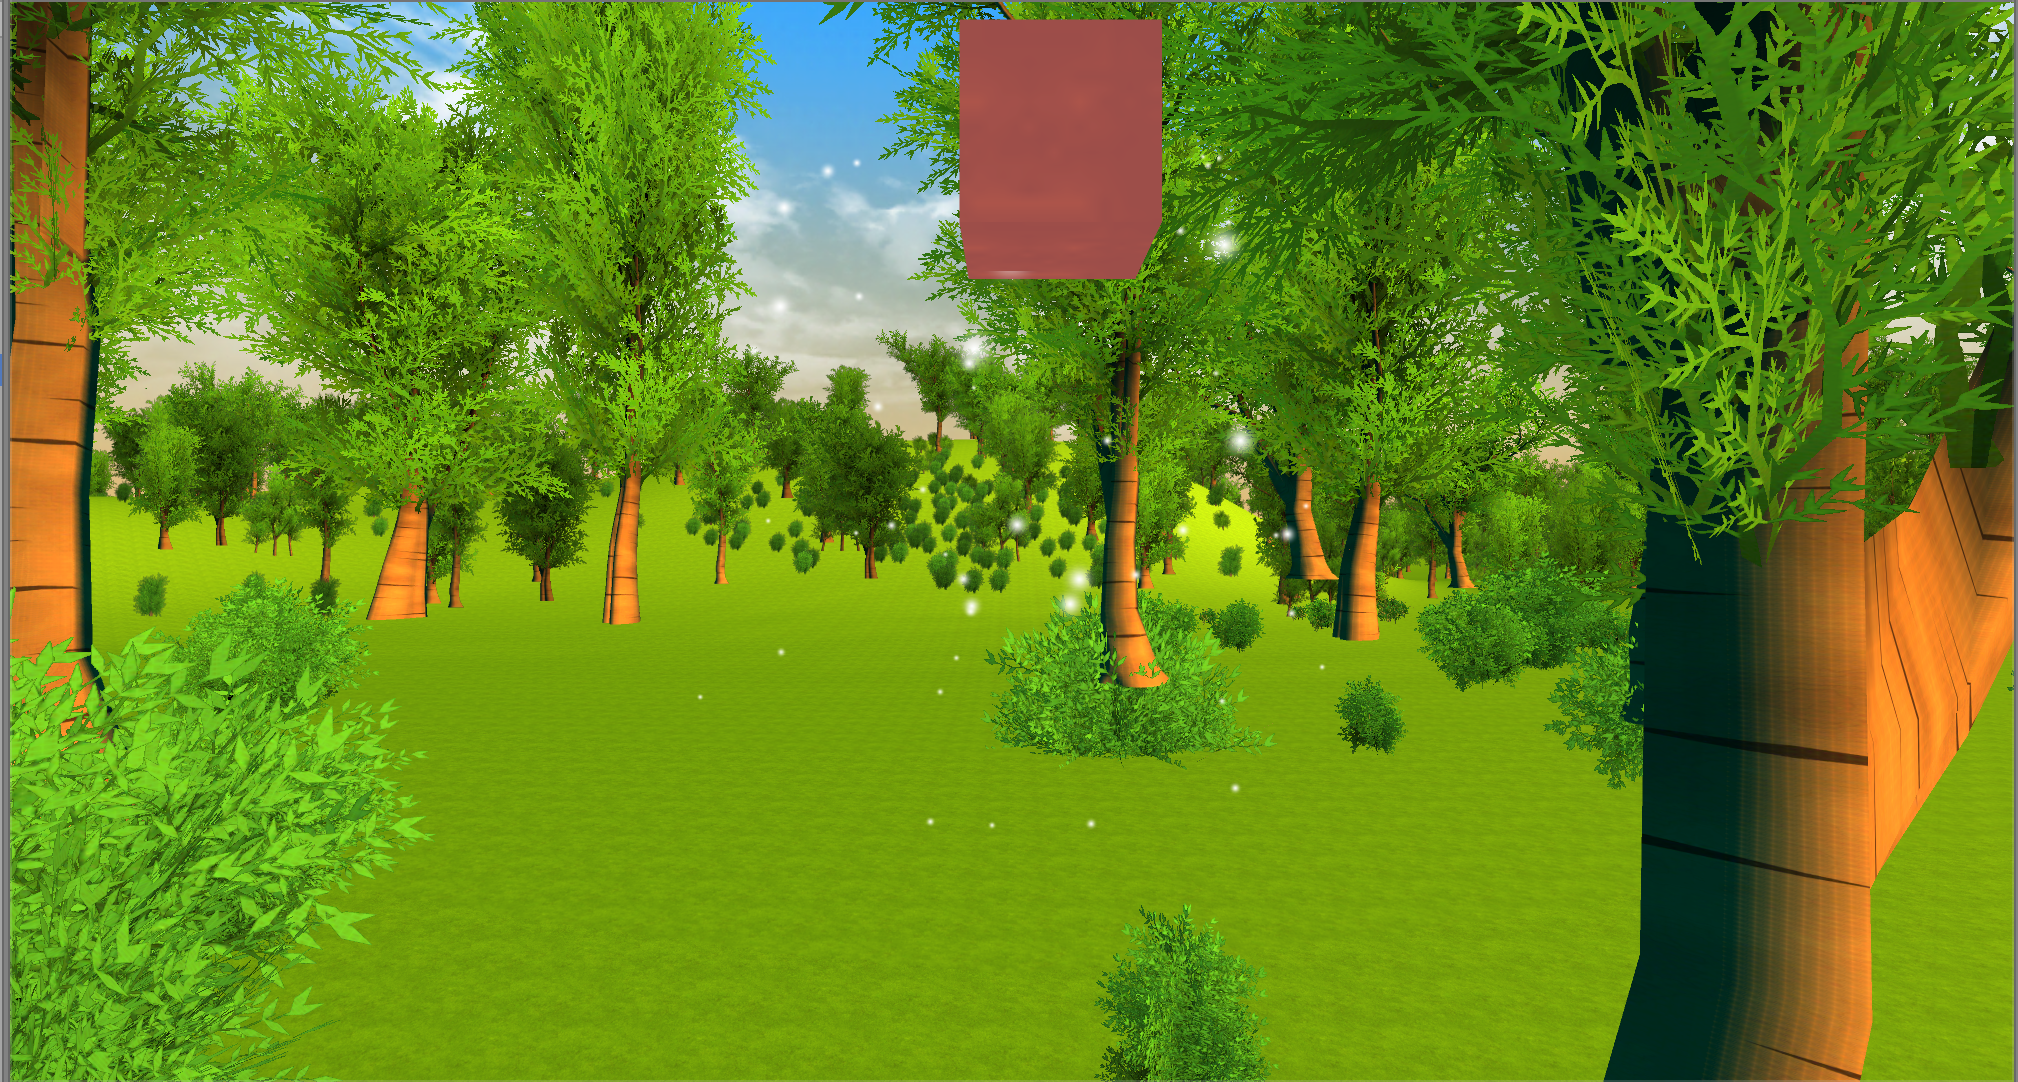
However, in order for the scene to be perceived as VR within a headset the normal camera needs to be adjusted significantly. This is what the Google VR SDK allows us to do very easily.
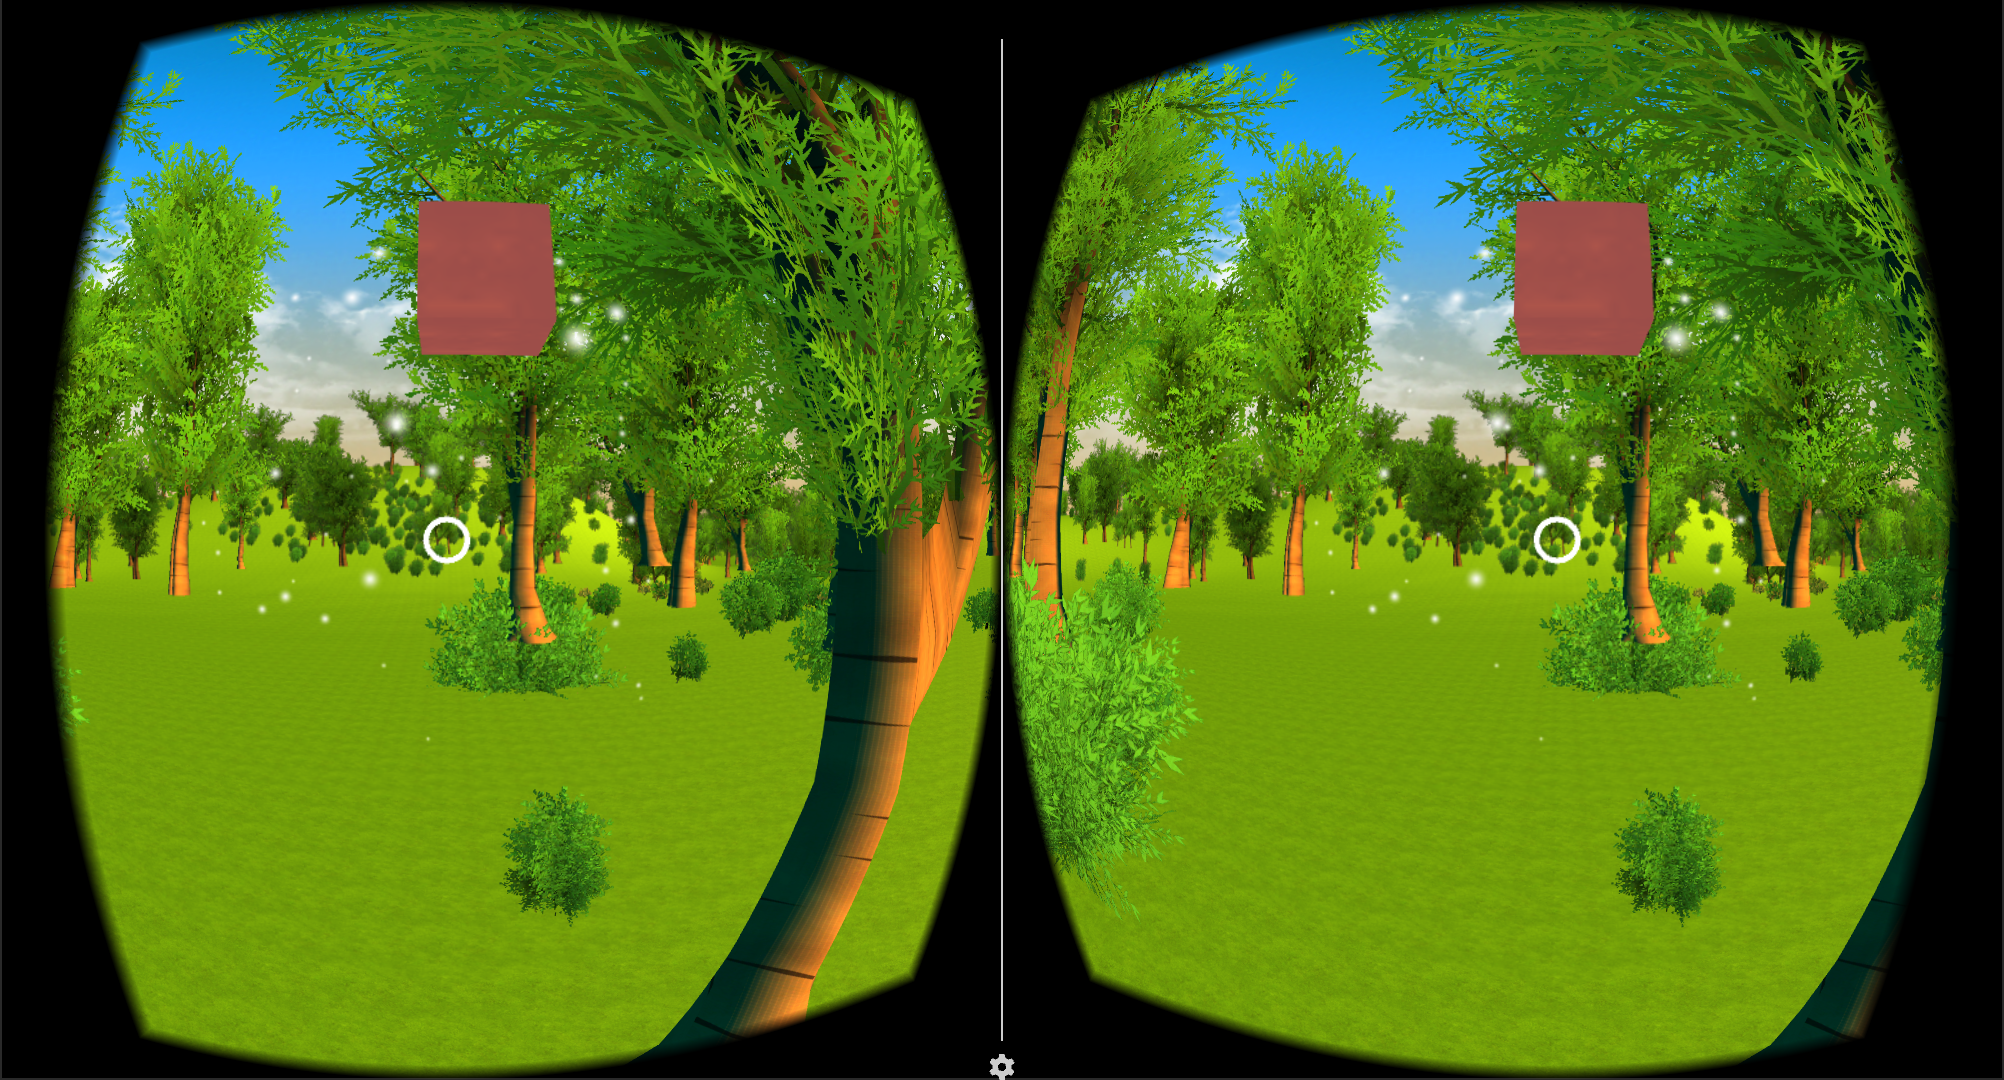
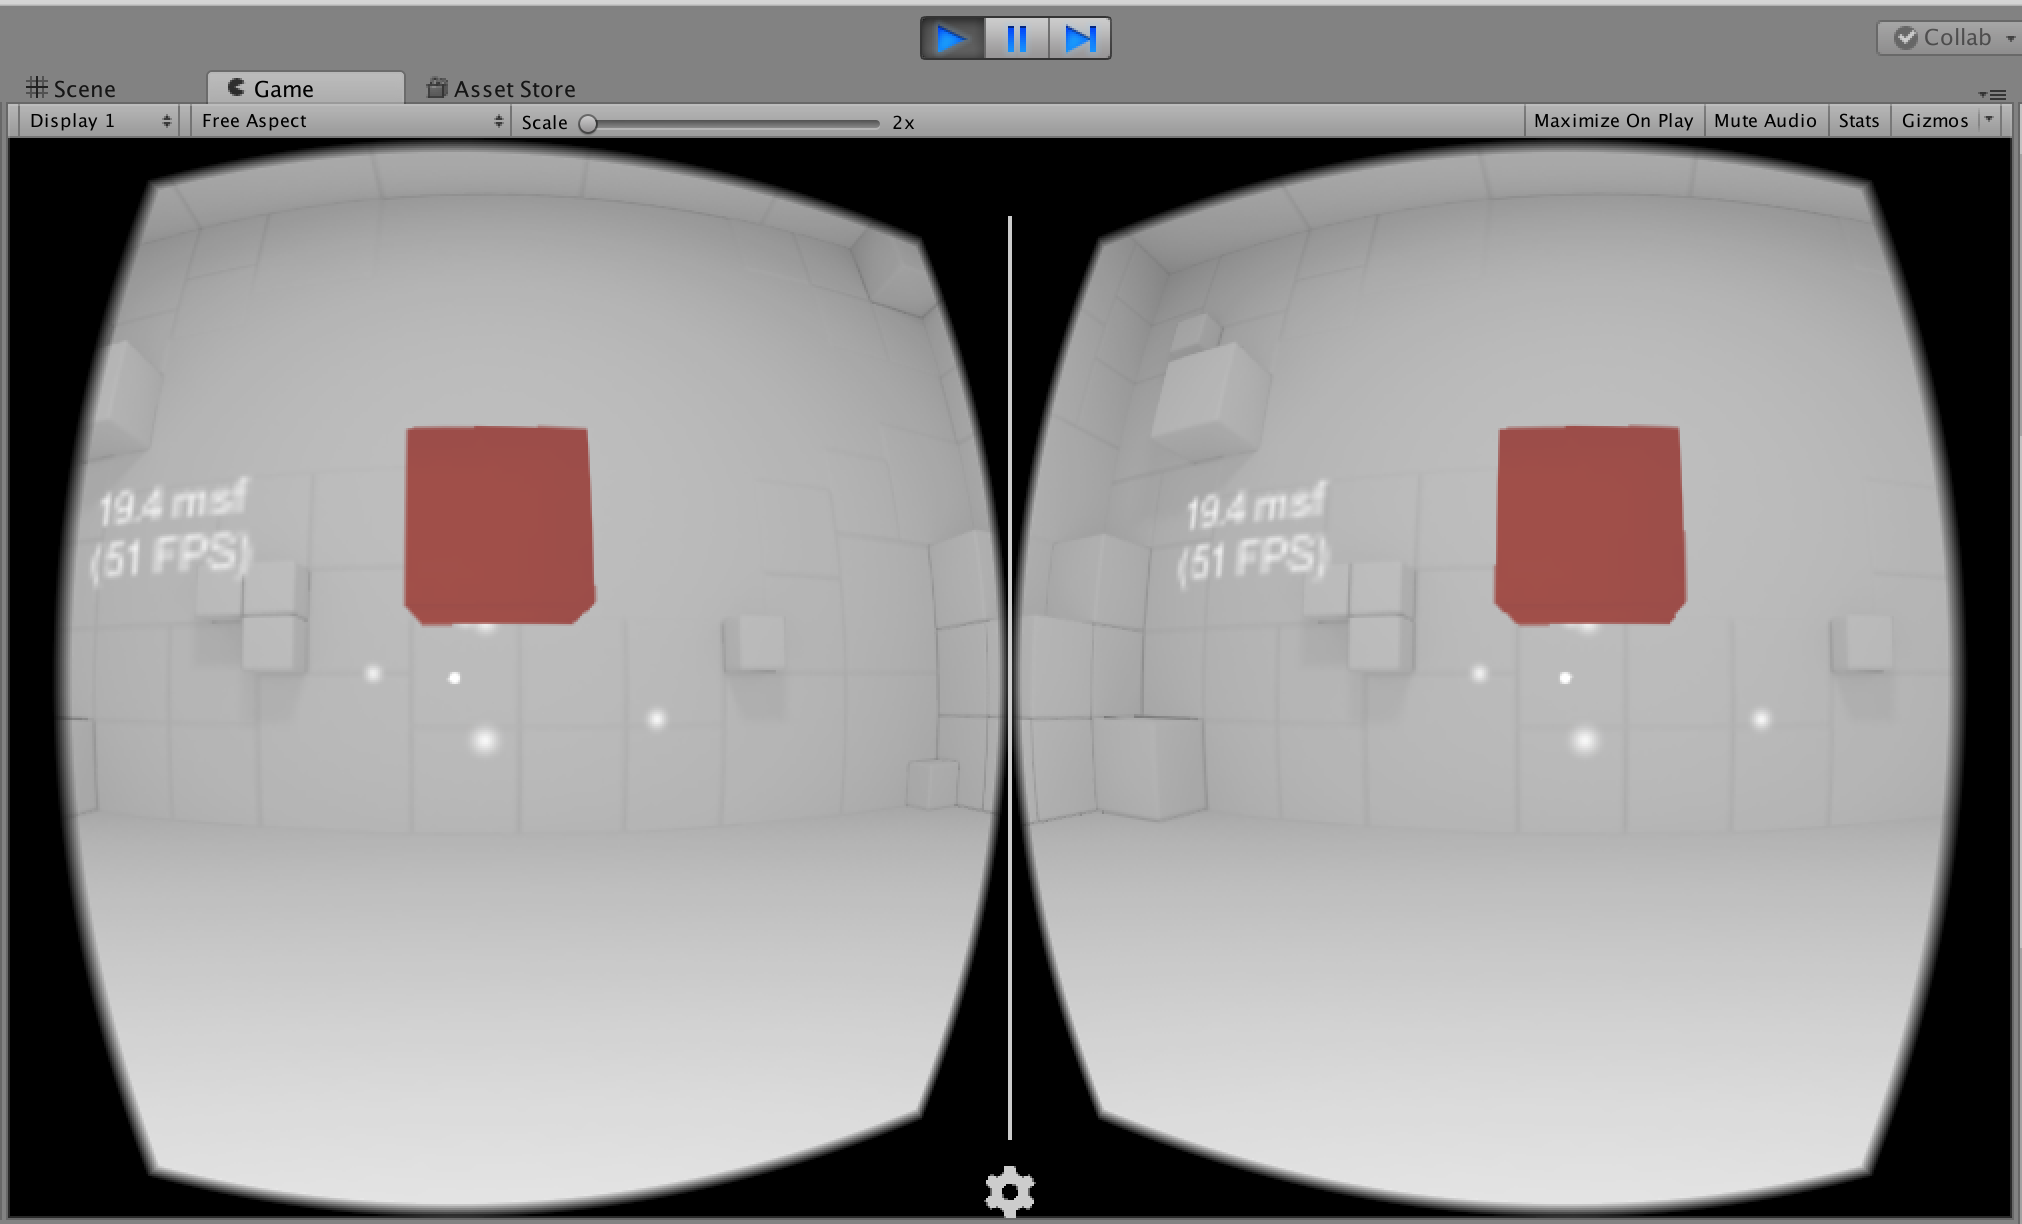
The GvrViewMain prefab actually uses a Unity Camera, but then splits out the image into two parts (one for each eye) and displays them together, but with slightly different viewing angles, in a viewport. GvrViewMain Also applies a distortion to the
two images (which you can see a bit in the image below) which is necessary for making the image look correct when looking through the lenses of a VR headset. One additional difference you’ll notice between these
two views is the addition of a circular reticle below. This is the GvrReticlePointer, another Google VR SDK prefab, and it is your primary means of interaction with the VR world. The Google VR SDK uses ray casting
to determine what object you’re looking at and tapping the screen triggers an interaction with the object that currently holds your “gaze”.
Now that you’ve downloaded both the latest version of Unity and the Google VR SDK we’re ready to create our new project. Open Unity and select “New”.
Camera With GvrViewMain (Google VR SDK)

Make sure you select 3D, but other than that you’re free to change anything you’d like (Name, Location, Organization, etc). Now you should see a blank Unity project with just a Camera and a Directional Light in your object hierarchy. Now it’s time to import the Google VR SDK you downloaded earlier. In the Assets menu, import a custom package.
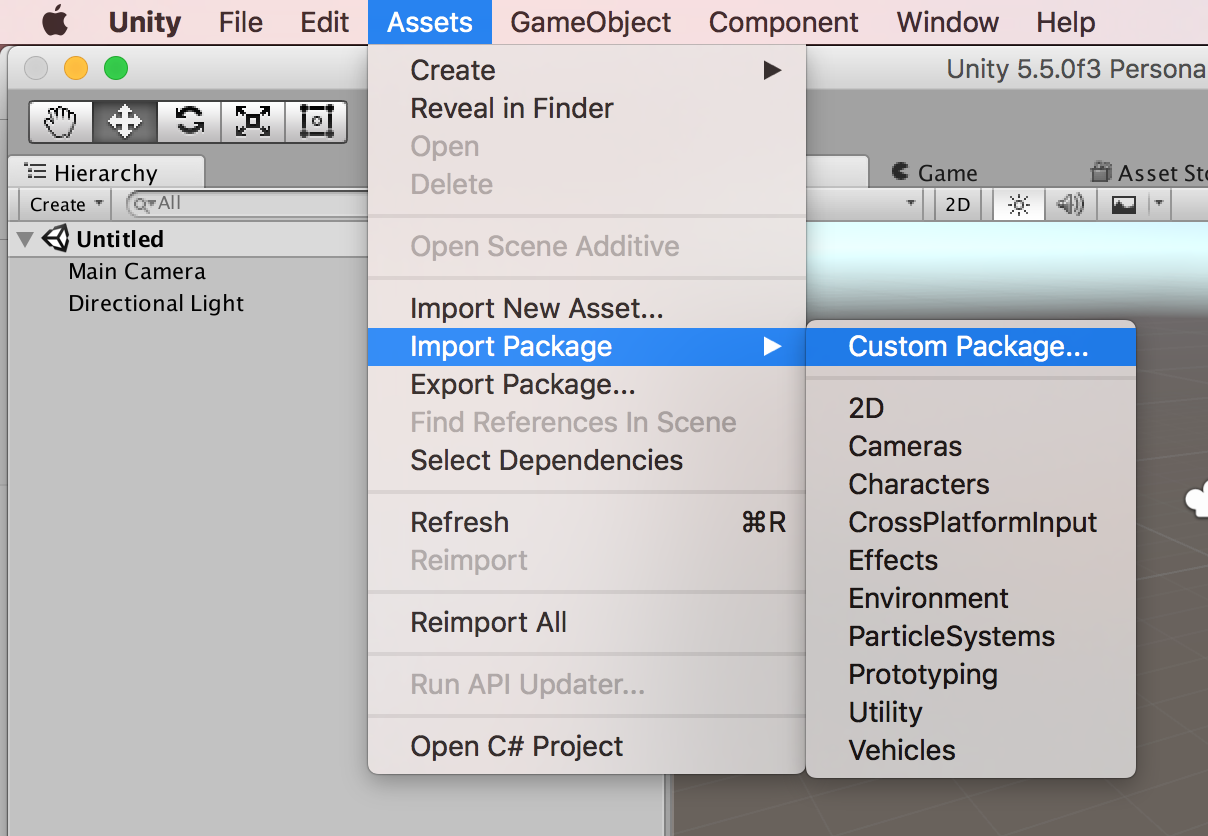
import the package GoogleVRForUnity.unitypackage found in the gvr-unity-sdk folder.
Make sure all the assets are selected and click the import button.
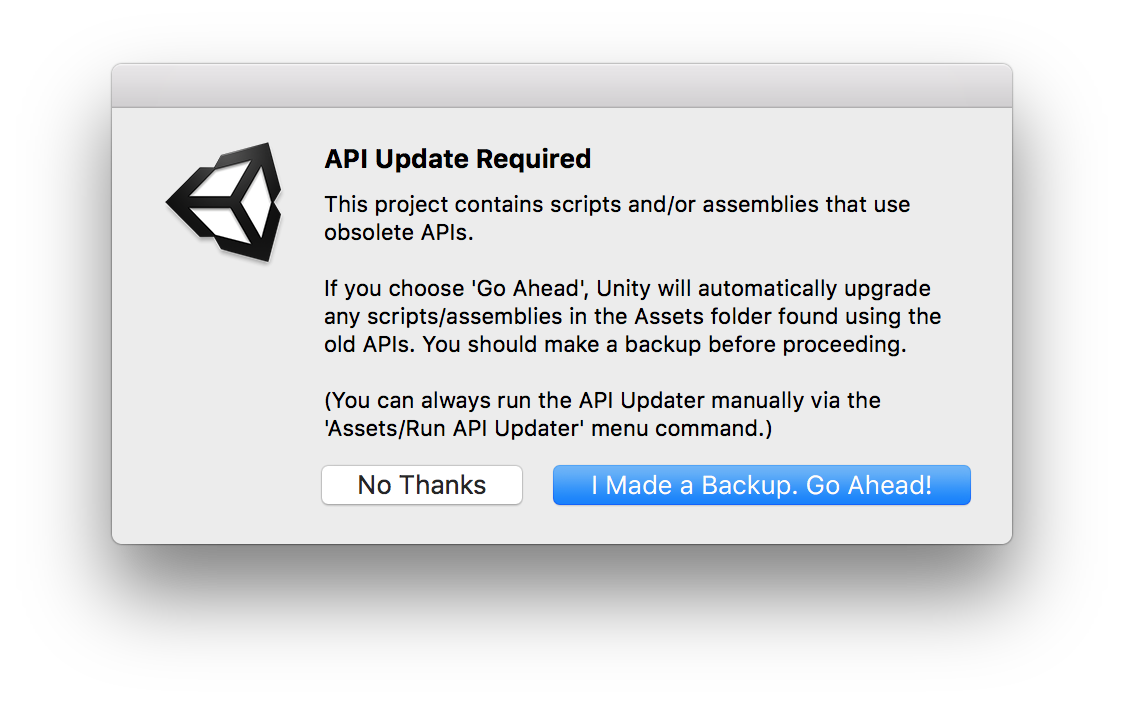
if you get the following warning, simply select ‘I Made a Backup Go Ahead!’… we haven’t done anything yet anyway ;)
Right now there seems to be a bug in the api upgrade process so if you see this error message in the Unity console, double click it to open the script in your default editor.

This should bring you to this method:
  private IEnumerator CallPluginAtEndOfFrames() {
    if (processingRunning) {
      Debug.LogError("CallPluginAtEndOfFrames invoked while already running.");
      Debug.LogError(StackTraceUtility.ExtractStackTrace());
      return false;
    }
simply change the return statement from return false to yield return false:
  private IEnumerator CallPluginAtEndOfFrames() {
    if (processingRunning) {
      Debug.LogError("CallPluginAtEndOfFrames invoked while already running.");
      Debug.LogError(StackTraceUtility.ExtractStackTrace());
      yield return false;
    }
Switch back to Unity and select the console’s clear button to recompile the script and clear the warning. At this point you may get a message that Unity needs to import additional libraries,
just accept and import the new libraries it suggests.
Now you should have an error free console with the Google VR SDK successfully installed. The quickest way to test and make sure everything is working is to switch to the Unity project tab and find the GVRDemo
scene at Assets > GoogleVR > Demos > Scenes. Double click the scene to open it and hit the play button.
Hold down the option button and move the mouse to simulate looking around in the scene. Notice that the reticle changes shape when you look at the floating cube and the cube reacts to your gaze as well. Click the mouse while the reticle is positioned over the cube and you’ll notice the cube transports to another location in the scene. Look around. Can you find it again?
Building To Xcode
Open the menu for Unity build settings by selecting File > Build Settings.
Make sure you add the currently open Google VR Demo Scene to your “Scenes in Build” Queue by clicking the button “Add Open Scene”
Under platform select iOS, then click the Player Settings... button beneath.
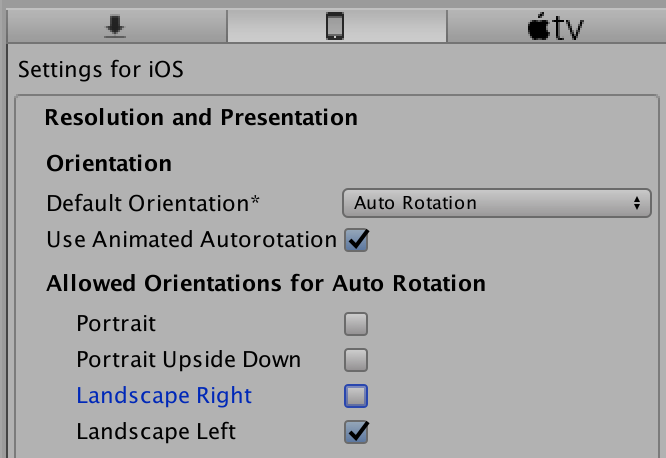
In the main Unity window, behind the build settings window, you’ll notice the inspector panel (probably rightmost panel depending on your window arrangement) has changed to reveal some iOS platform specific settings. Under the phone tab, make sure to deselect all orientations other than Landscape Left, as seen below.
Once that’s done, go ahead and hit Build!
Save the new project anywhere you’d like (probably within a new “Builds” folder within your current project folder). This process may take a while to export all the assets for the Xcode Project.
Once that process is done you should have an Xcode Project file in the location you built your project.
Open that Xcode project file, run the app on an iOS device and insert into your Google Cardboard headset.
Enjoy!